


Cantilever Soffit Gets Weatherized in Churchton, MD
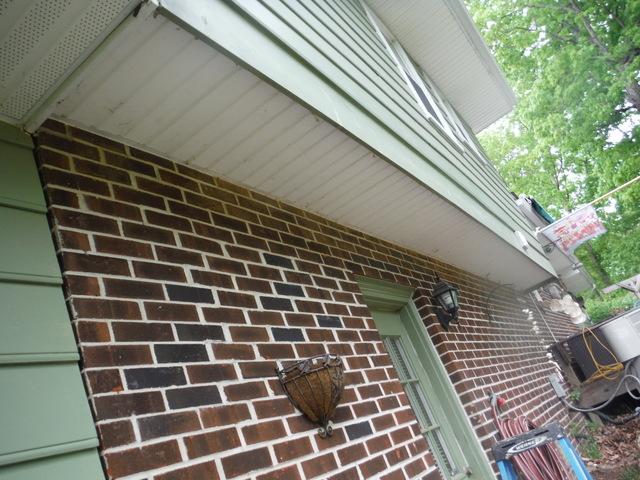
Cantilever Soffit Before Air Sealing
Here is a regular culprit when it comes to air leakage - the cantilever soffit. A lot of homeowners don't even think to look here for issues, but they really should. It's positioned right under your living space so if it's not sealed correctly, you'll end up experiencing cold floors and higher utility bills.
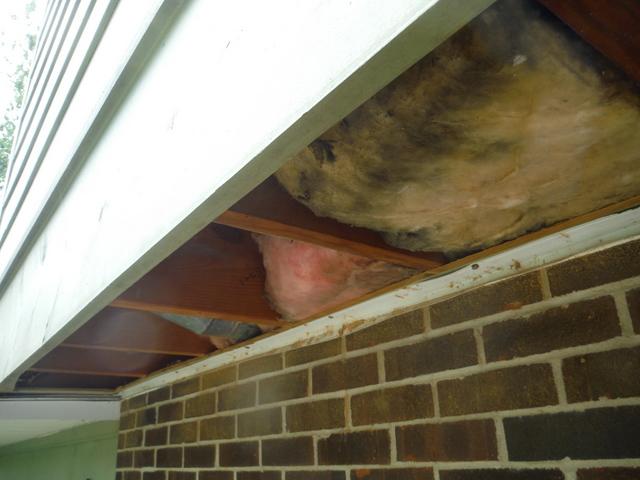
Old BATT Insulation in the Cantilever
We opened this bad boy up and took a look inside. What we found was very little insulation and what was there had already started going bad (you can tell by the black and gray marks).
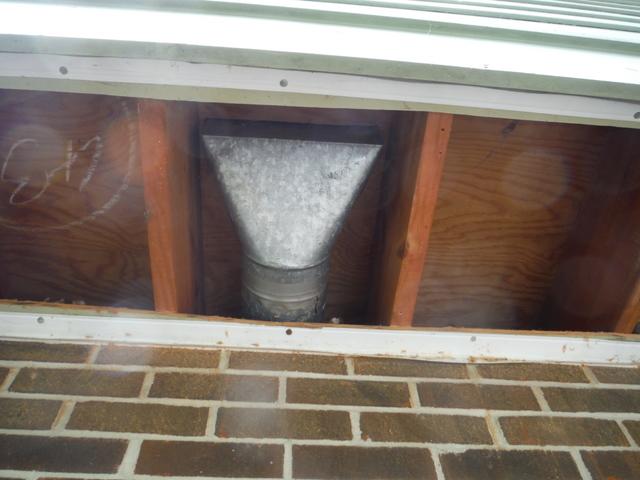
Removed Old Insulation to Prepare for Air Sealing
We had to take out the old insulation and throw it out. Underneath, you can see that there is no air sealing either (meaning that air is freely flowing in and out from the cantilever). We also found the dryer exhaust in there (that's the metal duct you see). We need to vent that exhaust out before air sealing or else it can be a risk to both your health and your safety.
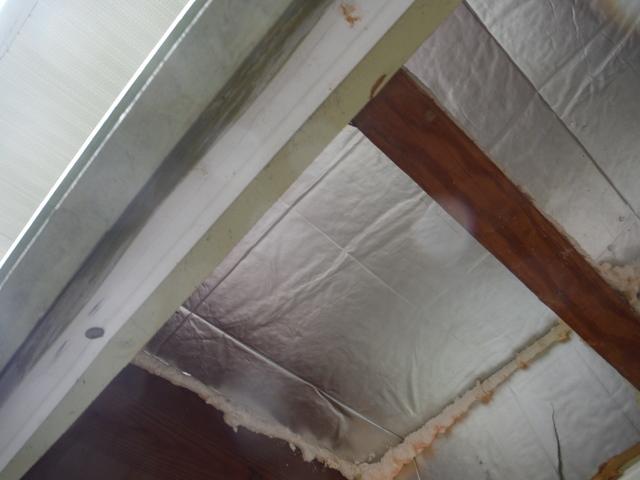
Air Sealing the Cantilever
In order to air seal the cantilever we combined the powers of foam board and spray foam insulation. This will create an air tight barrier that will reduce leakage and ultimately create a more comfortable home.
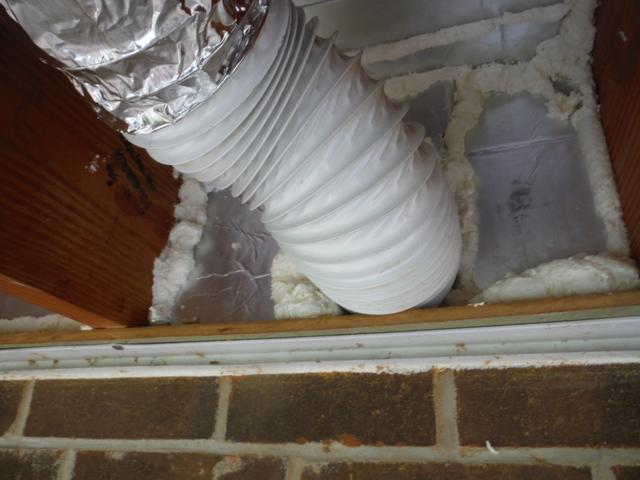
Venting Out the Dryer Exhaust
We used this pipework to vent out the dryer exhaust. The exhaust is extremely important because it draws out both moisture and lint from the appliance. If you don't vent it properly it can become a breeding ground for mold, kill your dryer, and become a serious fire hazard.
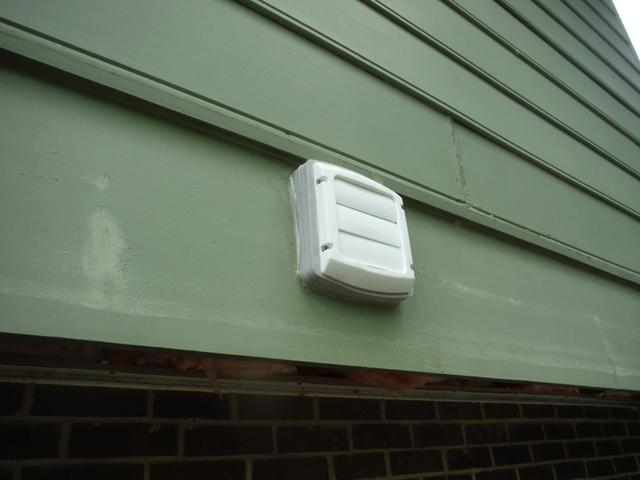
Venting Out the Dryer Exhaust (Part II)
After we get the pipe set up for the dryer exhaust, we have to have a way for that moisture and lint to get out WITHOUT leaving a gaping hole in the wall. That's why we installed this vent in the side of the cantilever.
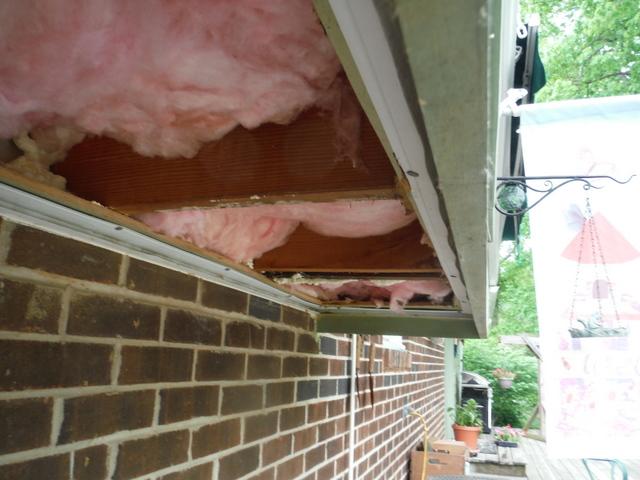
Install BATT Insulation
After air sealing and venting the exhaust, we need to apply some fresh BATT insulation. You always want you BATT to look pink and healthy the way it does in this picture (no gray spots). After this, we can close the area back up and let these new installs do their job.
This client of ours living in Churchton, Maryland had a big decision to make... whether or not to sell her house. She was weighing her options, but knew one thing for sure. She had to get her home weatherized. Whether she wanted to sell her house for its full value on the market or live in it comfortably for more years to come, this would be an important improvement for her to make. Complete Home Solutions was happy to be the one to help her with this. We took a look at her house to find out where we could make the most effective improvements for her home's energy efficiency and comfort. One of the major areas that we needed to air seal was the cantilever soffit. This might not be something that you would think of as having a big impact on the home, but trust us...it IS!


Request Service
Optimize Your Home’s Energy Efficiency
Save Energy & Lower Costs With a Home Energy Audit
Is your home as energy-efficient as it can be? At Complete Home Solutions, we offer comprehensive home energy audits to help identify factors that could be driving up your energy bills. Our energy audits include:
- Infrared testing and thermal imaging of your home
- Air infiltration and combustion appliance safety testing
- Comprehensive home energy evaluation reports